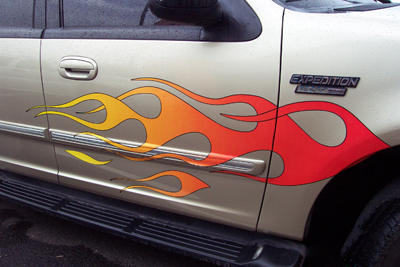
Vinyl Application
How to apply vinyl decals without application tape
Step One: Tape the decal onto the vehicle with the backing flat on the surface of the vehicle. Before beginning application, make sure that the decal is exactly where you want it. 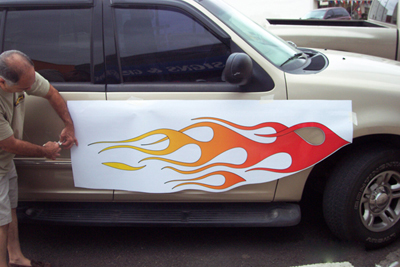
Step Two: Peel away the front part of the backing and firmly apply the first part of the decal to the vehicle. This will keep the decal from shifting during application. 
Step Three: Before you begin to apply the decal, spray a generous amount of glass plus on the vehicle making sure the entire surface is wet. A wet surface allows the decal to be placed on the surface of the vehicle without sticking immediately. Next, pull the backing of the decal away and smooth the decal onto the vehicle.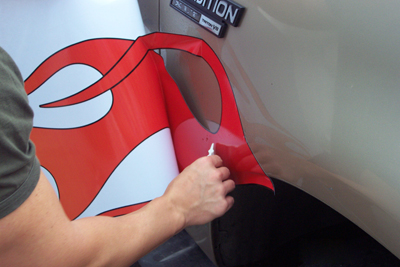
Step Four: Continue to apply the rest of the decal, making sure to spray enough glass plus on the surface to keep it wet. Using a squeegee will help to seal the decal to the vehicle by firmly pressing the adhesive to the surface and removing air bubbles.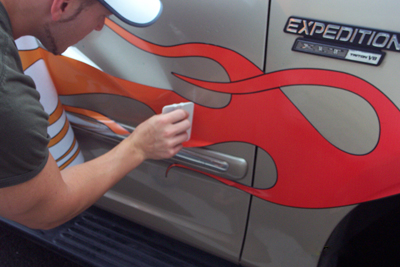
Step Five: Continue to peel away the backing and apply the decal on the surfuce, wet with glass plus, until you have the whole decal on the vehicle.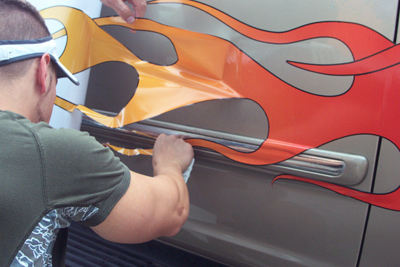
Step Six: Once the entire decal is on, use the squeegee to go over the decal again. This will seal the decal to the vehicle and will remove any remaining air bubbles. Going in the same direction that you applied the decal will help to most effectively remove any pockets of air or excess glass plus from underneath the adhesive.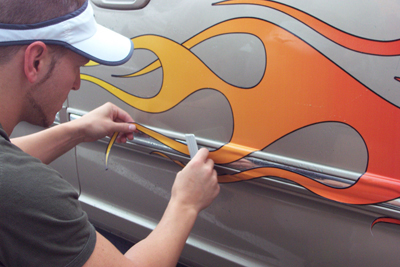
Step Seven: Once the main portion of the decal is on, you can begin to apply the smaller pieces. These are applied in the same way as the larger pieces. Tape the decal in the position that you want to apply it, spray the area with glass plus, and being to apply. Again, use the squeegee to make sure you have the decal flat against the surface of the vehicle and to remove any bubbles underneath the surface of the adhesive.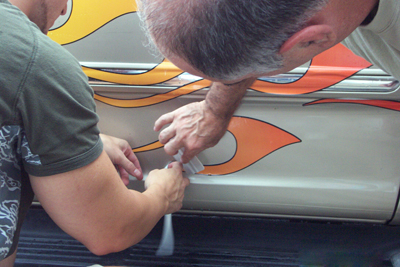
Step Eight: When finished applying all parts of the decal, use a razor blade to cut any parts of the sticker that cover a door on the vehicle. Slicing down the middle of the crack between the door and the body of the vehicle will leave you with edges of cut vinyl. You can then use the squeegee to press the cut edges around the edges of the door.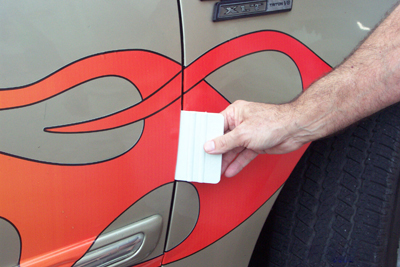 This results in a cleaner finish then attempting to trim the vinyl along the crack of the door.
...and you're done!