Freehand Method
How to apply vinyl letters and graphics using the freehand method
Letters, symbols, and logos can be individually cut from vinyl in hundreds of colors.
Vinyl lettering, graphics and logos can be applied to windows, auto bodies, metal, wood, plastic, glass, and basically any other smooth surface.
Lettering and logos come ready to apply, prepared and held in place with an application masking tape.
Some stickers and decals are one-piece and do not require application masking tape. Such as those pictured here.
For vinyl that is masked, first down the graphic or lettering face down.
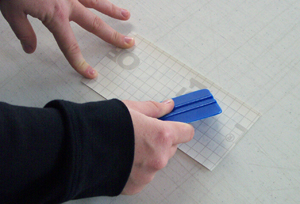 Using a credit card, press firmly over the surface of the wax paper. This will ensure that the graphics and/or lettering are stuck to the application tape.
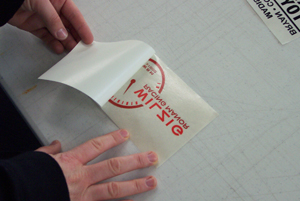 Roll the wax backing off, leaving the vinyl (sticky side up) on the application tape. Once the wax paper backing is removed you are left with the vinyl and the masking. The vinyl should be on the masking with the adhesive side exposed.
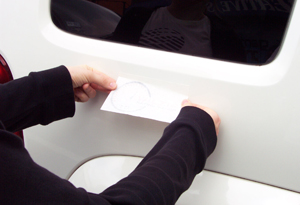 Begin to apply the vinyl to the desired surface. Start by sticking one edge of the graphic onto the surface and holding the other edge away from the surface.
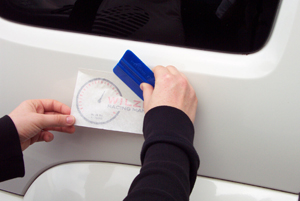 Using a squeegee, begin to press the vinyl down onto your surface. It is important to move in the same direction that you began with. For example. if you stuck the left side of the graphic down first, you would want to smooth the graphic down from left to right with the squeegee. This will minimize air bubbles.
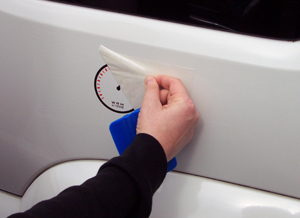 Peel the application tape off the vinyl, and you are left with your graphics!
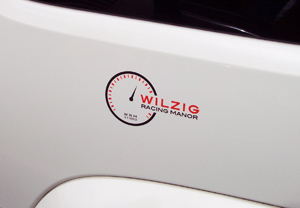
Vinyl graphics produce the highest quality finish and are easily duplicated. Vinyl graphics last longer than paint and can easily be removed and replaced when it is needed.


