Install vinyl graphics with the Hinged Method
How to install graphics using the hinged method
Letters, symbols, and logos can be individually cut from vinyl in hundreds of colors.
Vinyl lettering, graphics and logos can be applied to windows, auto bodies, metal, wood, plastic, glass, and basically any other smooth surface.
Lettering and logos come ready to apply, prepared and held in place with an application masking tape.
Some stickers and decals are one-piece and do not require application masking tape.
 For vinyl that is masked, first place the graphic or lettering face down. Using a credit card, press firmly over the surface of the wax paper. This will ensure that the graphics and/or lettering are stuck to the application tape.
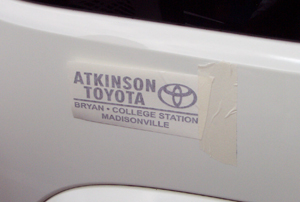 Place the graphics on the desired surface and tape one side of the graphics to the surface, as shown.
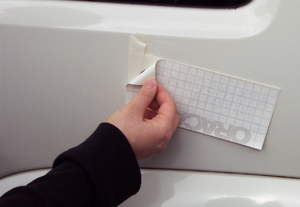 Beginning with the side that is taped, pull the backing away from the decal.
 Peel the rest of the backing away, making sure to keep the decal from folding onto itself.
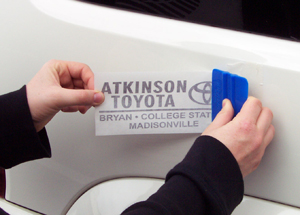 Use a squeegee to smooth the graphics onto the surface you are applying them to. Remember to smooth in the same direction that you started with. For example, if you taped the top of the graphics, you should apply them from top to bottom and smooth with the squeegee in that direction.
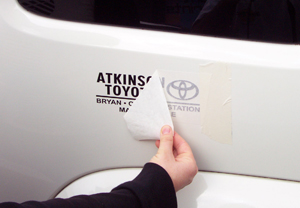 Once the vinyl is completely pressed down onto the surface, remove the application tape and the tape you used as a hinge.
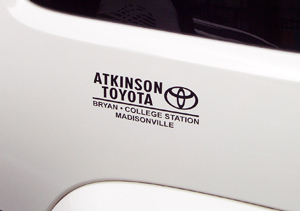 You are now left with your vinyl graphics!